


We get it. You want to make the most of your familify album. After all, you want your kid’s memories to look beautiful. Who wouldn’t?
So, we put together this quick tutorial about how to make the most out of your familify album.
TIP: Your album will look better the more photos you upload and the more questions you answer.
Start by doing all the “adding” then the “erasing” and leave the editing for the end.
How to add photos automatically?
familify can identify tags from your kid’s pictures in Facebook and Instagram. To make things easy, you can automatically upload all your photos for each child in one go.
There are two ways to do this:
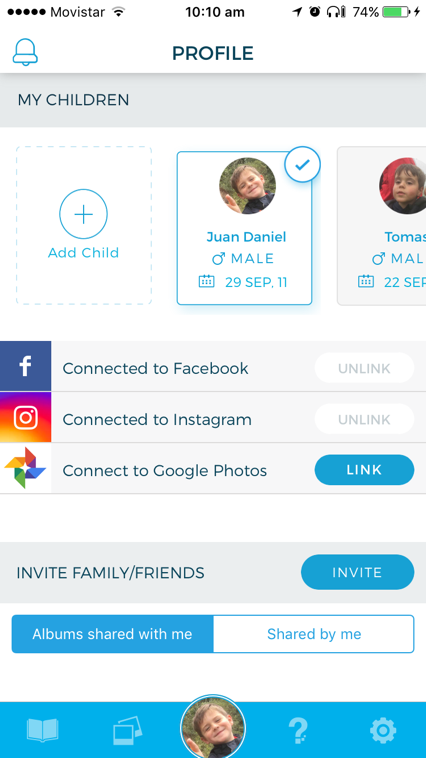
a. When you create a children profile. Link both your social media accounts
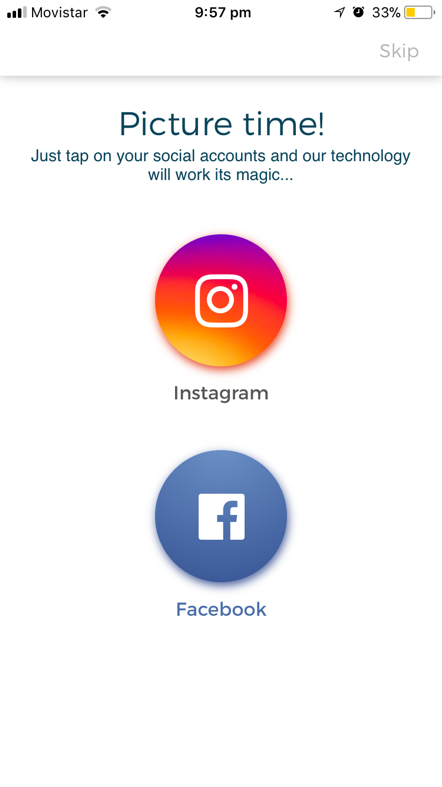
b. Go to profiles, select a child and then Unlink -> Link any Facebook or Instagram.
*Just make sure you tag your kid’s photos in your Facebook profile. (Facebook Scrapbook. Great tool to keep child photos privately https://www.facebook.com/help/scrapbooks)
*For Instagram just make sure you add a hashtag (#) with your kid name in each photo of him/her.
Note: familify won’t be able to automatically fetch your child photos if his/her name in familify doesn’t match with the name you used for him/her in Facebook or Instagram. In case you were not able to fetch from Facebook please refer to the Troubleshooting section
Of course, you can always upload photos manually from your phone gallery, Google Photos, Facebook or Instagram.
How to add video?
In the current version, familify supports video fetched from Instagram only. So, if you want to get a video in your album, make sure you do the following:
- Upload the video to your Instagram account
- Use a hashtag to add your kid name e.g. #Damien (Make sure to spell it exactly as you did when creating your kid’s familify profile.
- Repeat step b
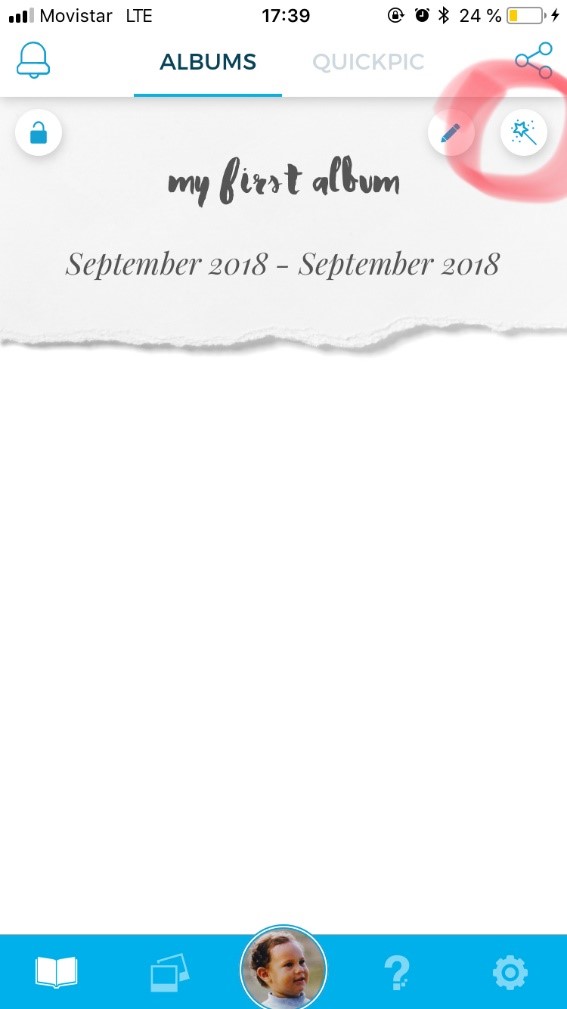
How to edit an album?
(It’s better to erase the photos you don’t like before editing. To do so go to the gallery menu and select which photos you would like to erase)
Familify automatically makes your albums but if you want to tweak them to make them look perfect you can do it by following these steps:
- Go to the Album listing screen
- Tap on the pencil icon of the album you wish to edit.

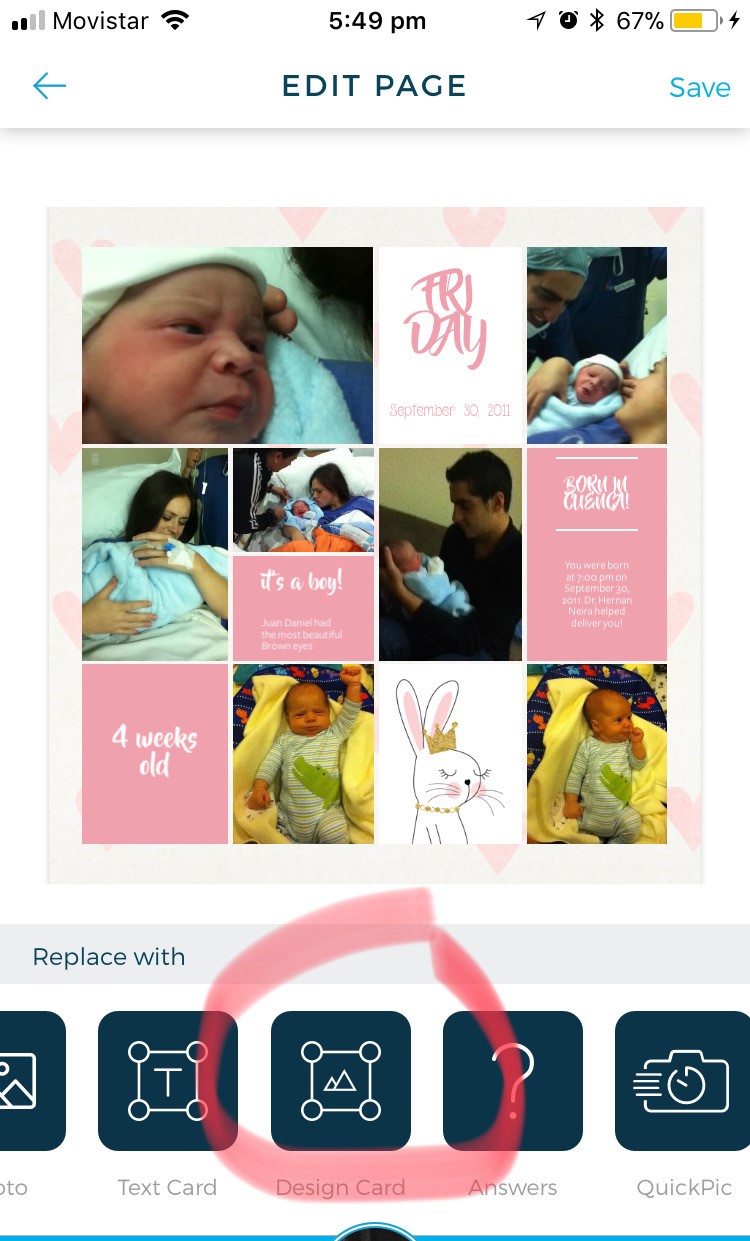
Now, you will be able to navigate through all the pages within the selected album and edit as per the following options
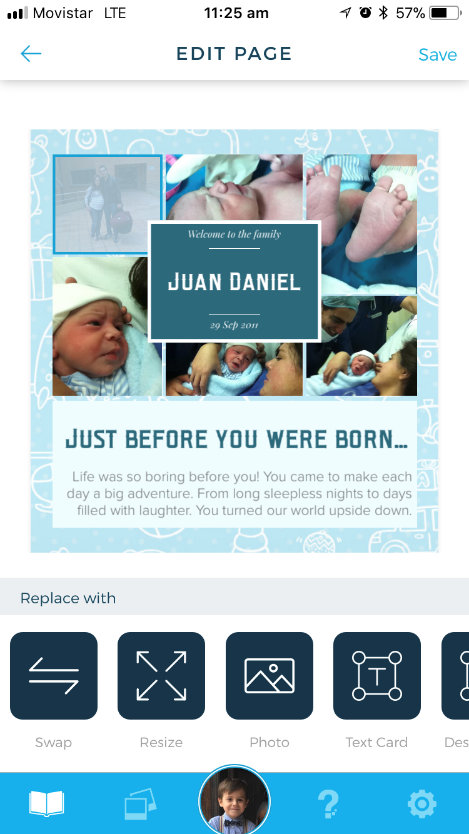
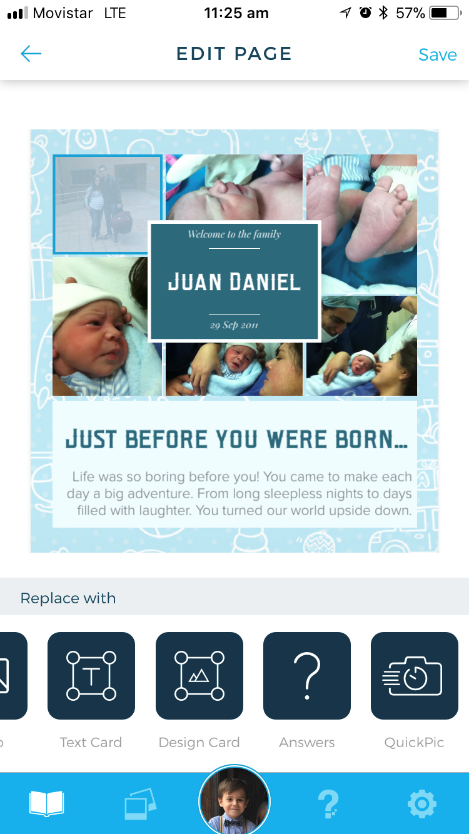
- Swap: Exchange places between any two photos inside that album.
- Resize: You can enlarge or shrink photos or crop the borders.
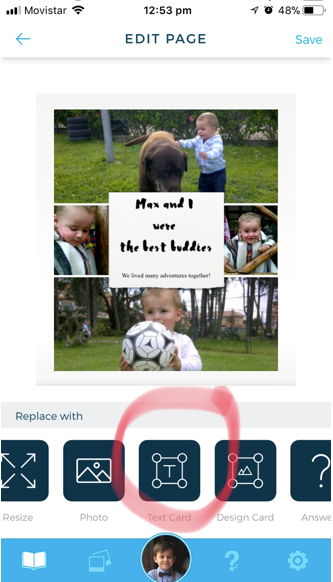
- Photos: Replace any photo or card with a new photo from your camera roll.
- Text Card: Replace any photo or card with a new text card. (More info in section 4)
- Design Card: Replace any photo or card with a new design card. (More info in section 5)
- Answers: Replace any photo or card with a text card created after one of the questions you already answered.
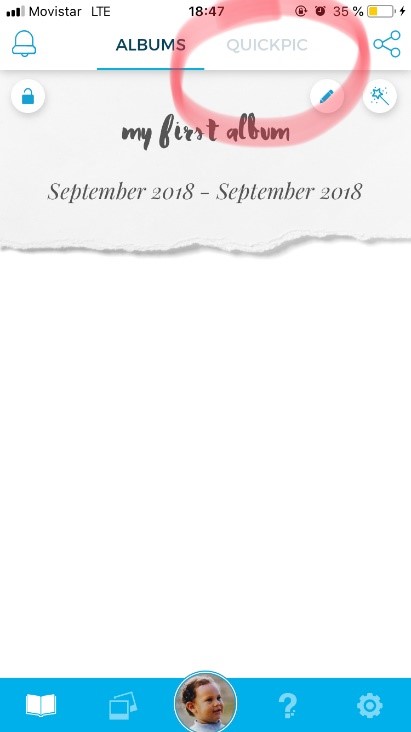
- Quickpic: Replace any photo or card with any Quickpic you created (section 8).
How to add text cards?
Text cards are great way to add those little stories which you don’t want to forget. There are two ways to add text cards to your albums
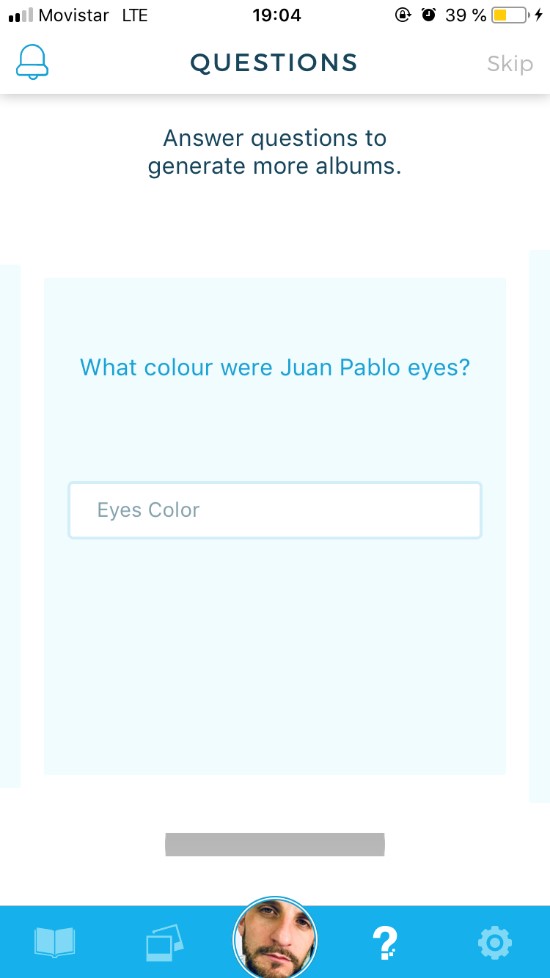
c. Go to the questions section and answer as many questions as you like. Each answered will be transformed in a text card and will be automatically placed in your album in a chronological order.
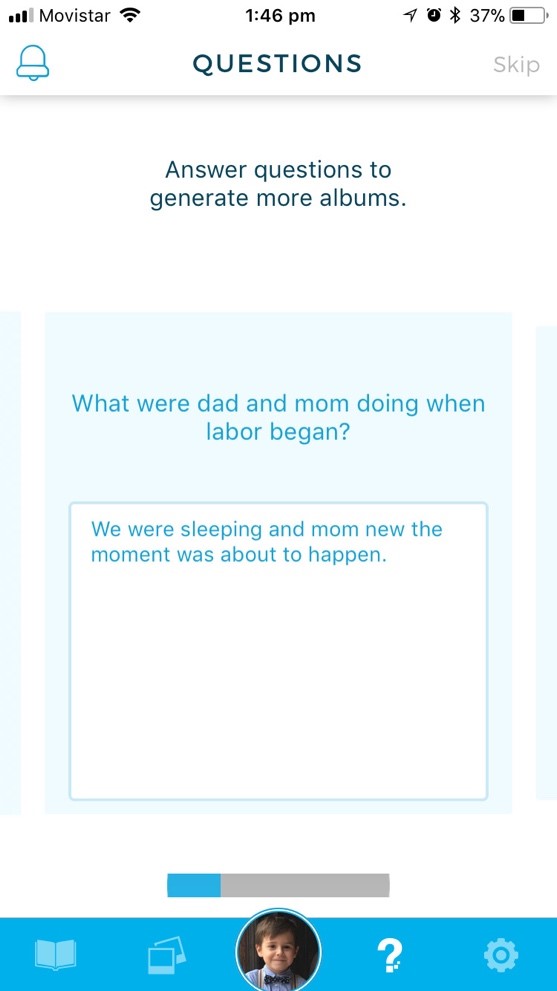

d. Go to the questions section and answer as many questions as you like. Each answered will be transformed in a text card and will be automatically placed in your album in a chronological order.
You will be able to choose different fonts, sizes, paper colours and textures. Choose the one you like the most.
*Note: If you have text cards for periods of time with no photos, those text cards won’t be shown or will be shown in a different period. Once you upload new photos they will rearrange automatically to match the right dates.
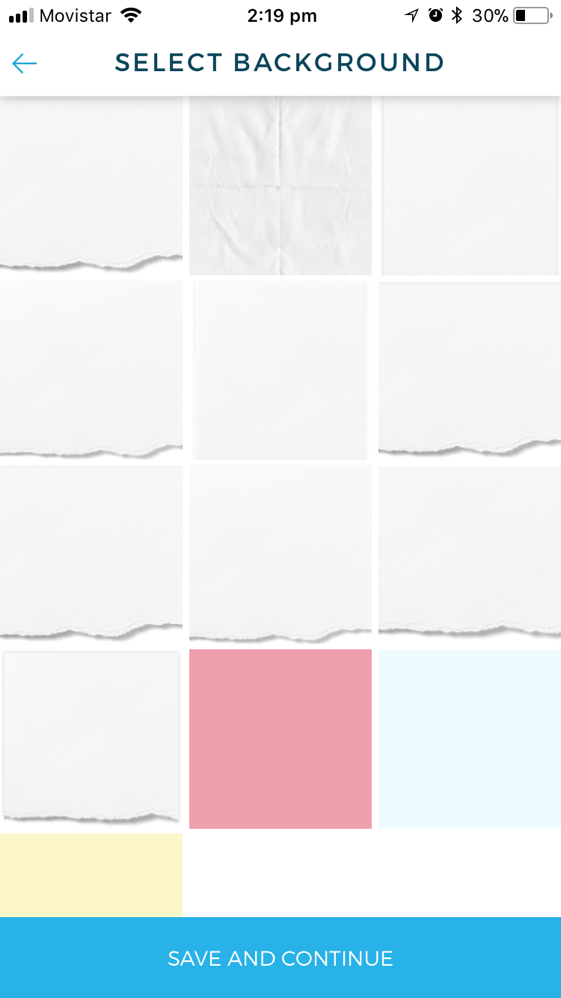
How to add design cards?
Each theme (see below) has some cards with a certain pattern, photo or design to embellish your album. They will appear automatically when you create an album. You can add or replace them by doing the following:
e. Go to the album edit option (Section 3). Select which photo, video or card you want to replace and tap on DESIGN CARD option below.
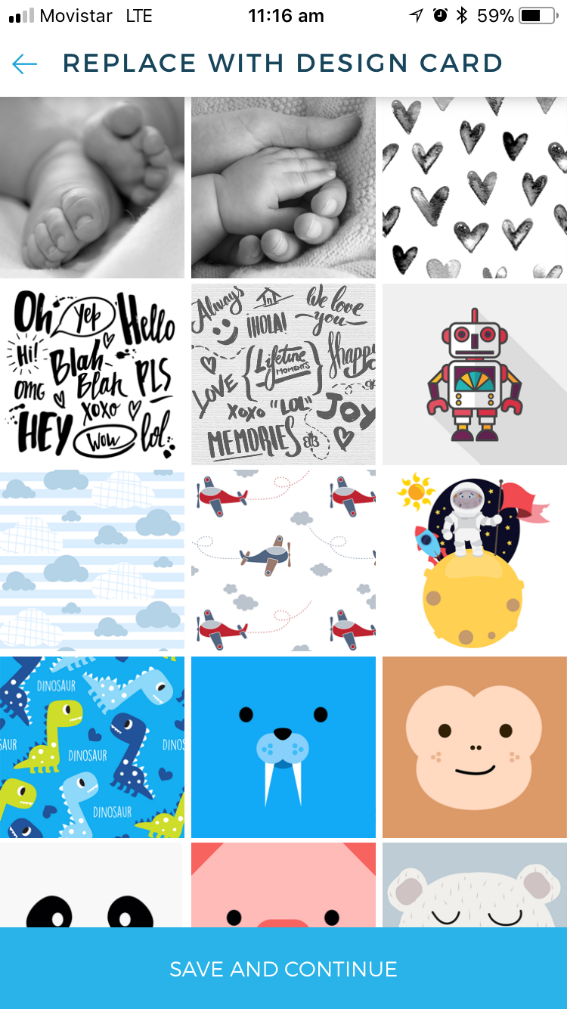
f. Once you selected your preferred design card press SAVE AND CONTINUE.
locking Feature
Familify automatically updates your albums whenever you upload, delete or replace any photo or text card. When the update takes place, all the previous editing you have done will be overwritten by the default chronologically order photos. To prevent this to happen, you can lock an album, so no changes will be allowed in that specific album. To do this just:
a. Go the album listing section
b. Tap in the LOCK icon
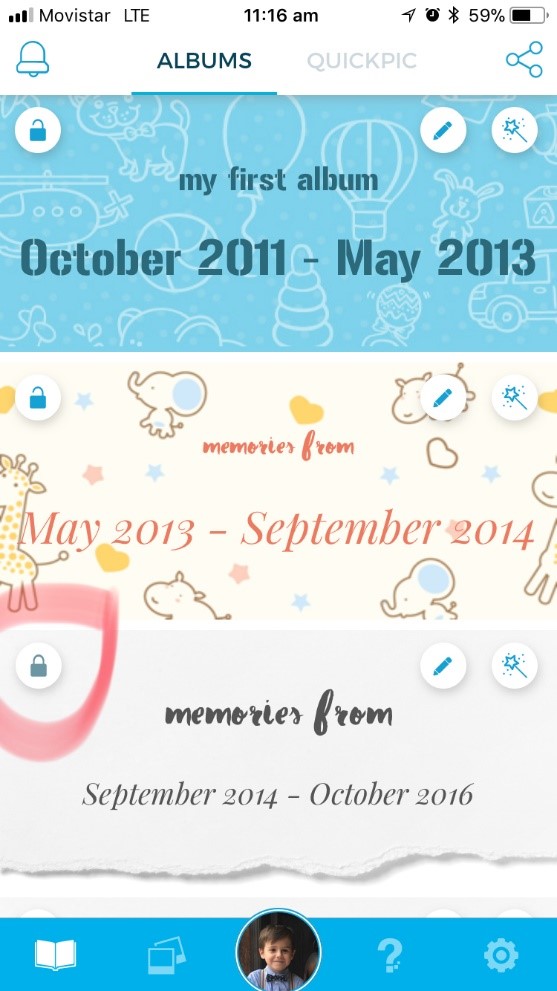
To allow editing again, press in the lock icon again.
Changing themes
Not every baby is the same and familify knows that. That is the reason why you can change the design, style and colours of your photo album according to your children personality. With the four themes available you’ll be able to give your photos and videos that special and unique look. It is super easy, just follow these steps:
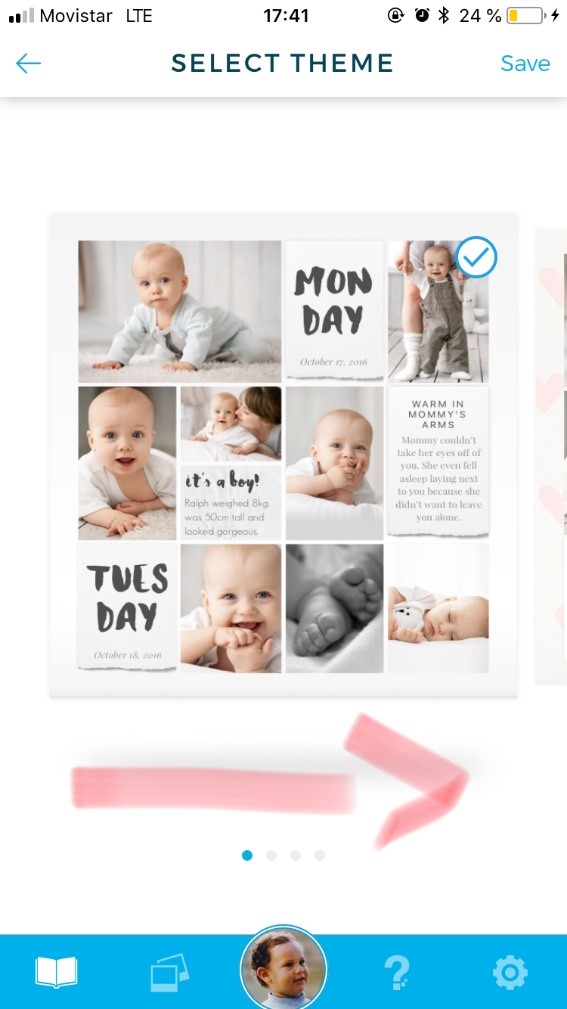
Swipe and discover every feature of the different themes. All the colours and cards change to adapt your photos and videos.
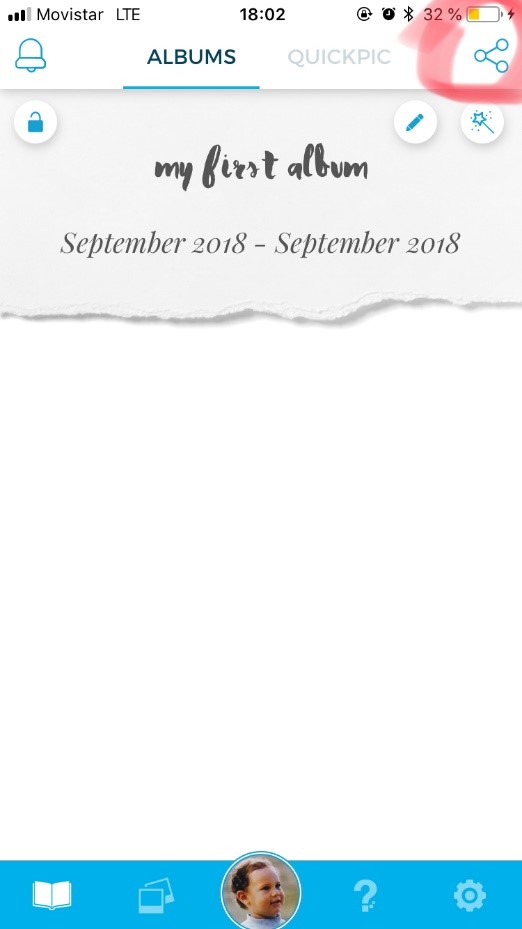
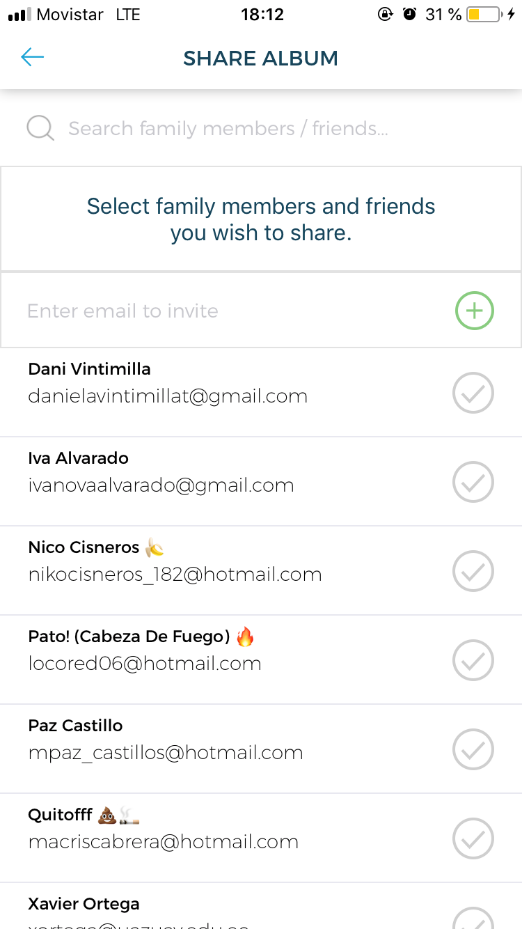
Invite friends and family
They won’t miss a thing! Share your albums with all the family members, wherever they are and whenever you want. With familify you will be able to show every picture and video with the people you want with just a single tap. And the best part is that is completely private. The only thing you need is their email and done. As simple as this:
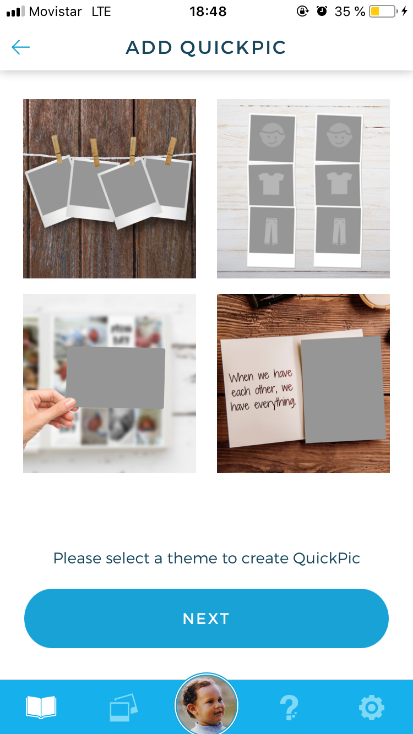
Making Quickpics
Want something different? familify has the perfect solution: QuickPics! Create beautiful collages and pictures in the blink of an eye. Have tons of fun while doing it and show us those beautiful family pictures. Piece of cake:
Answering Questions
One of familify great features is that it personalizes your album to the minimal detail. We want to know everything about your kids, so they don’t to miss out a thing. Relive every moment when you go over the album back and forth just like you are there all over again. Just go to the bar below and touch the question mark. Like this:

Troubleshooting
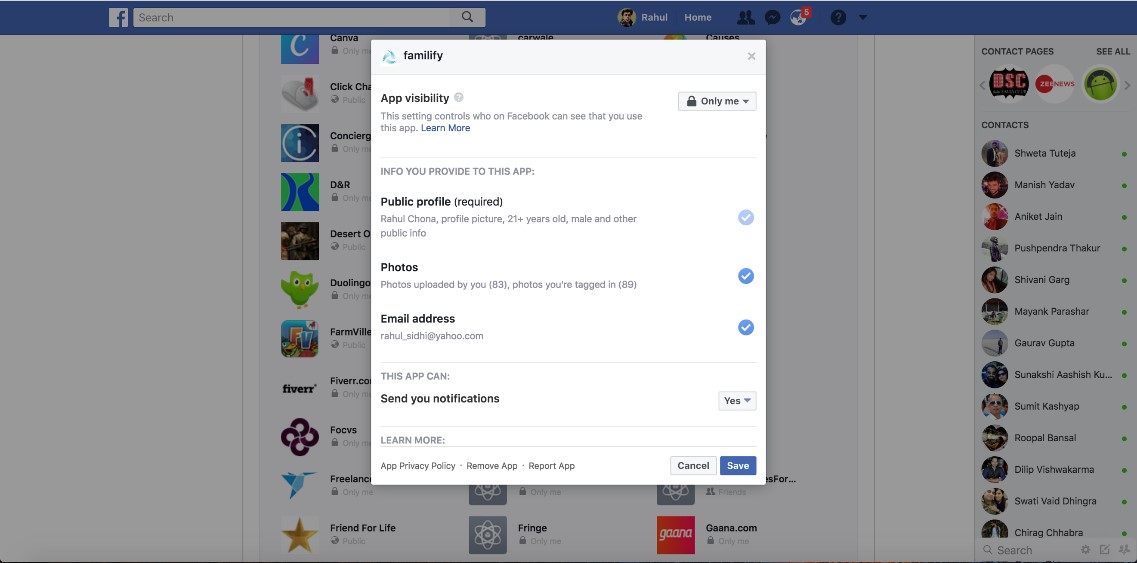
a. I can’t fetch photos from Facebook
This might happen due to Facebook policies. Please follow these steps, you should be able to fix it in no time:
- Go to settings on your Facebook account
- Then you will find an option named “apps” or “manage apps” on the left side menu, tap on it
- A screen will pop up with all the apps to you have granted some permission
- Look for familify app there and tap on it

5. A new screen will popup which will list all the permissions like photos, etc
6. Enable photos permission there and save.